Stream a multi-camera show from a Mac
From cameras to a live stream on one Mac: bring in each camera, give the show its sound, switch between them, and go live.
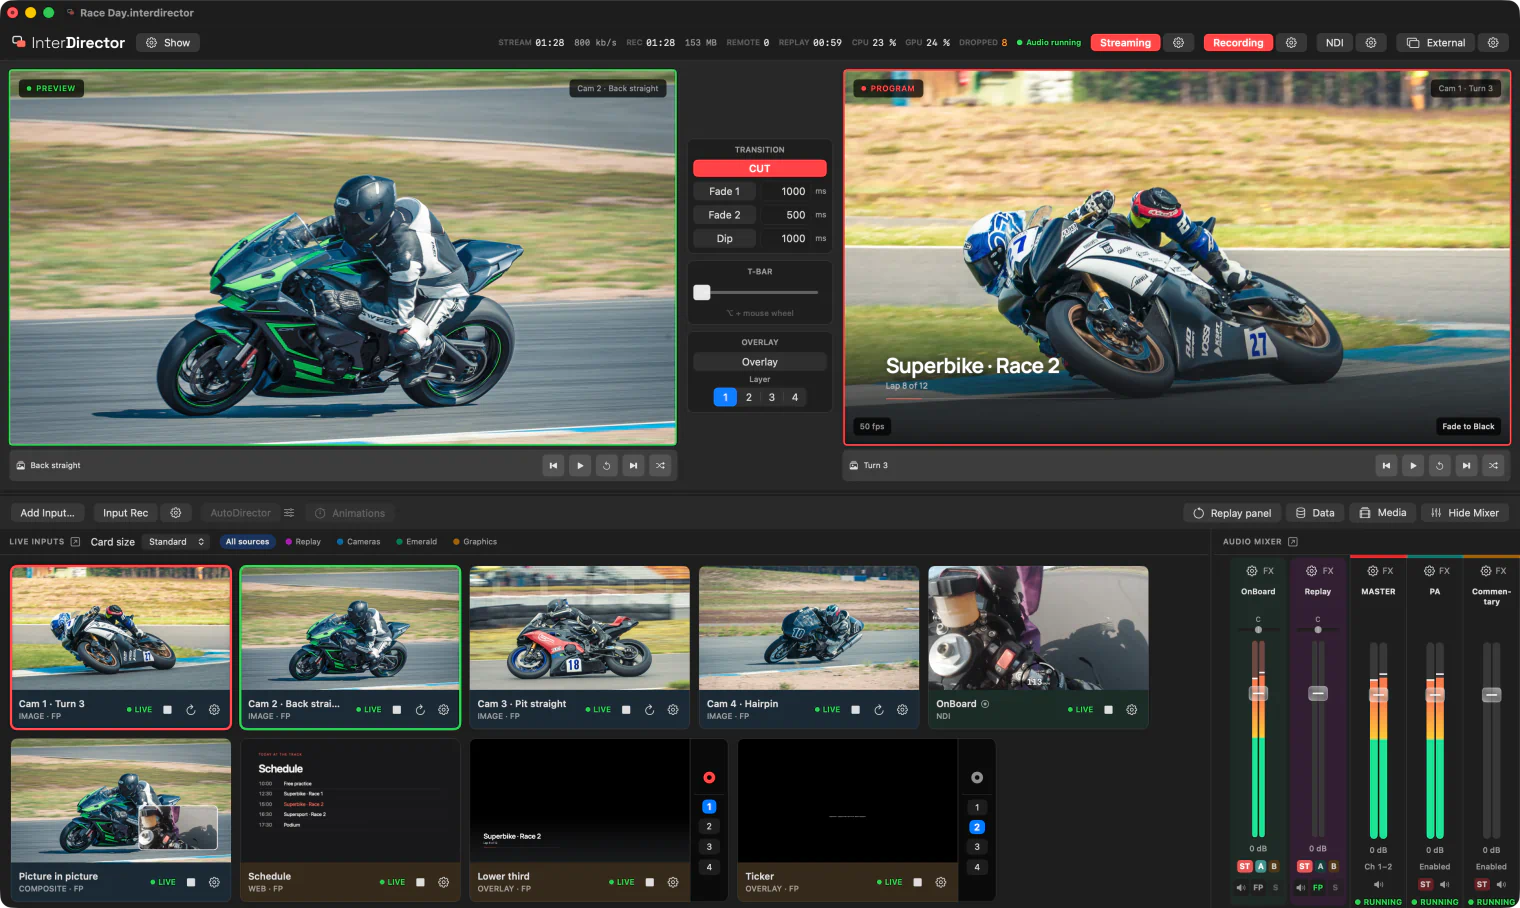
This is the whole job in one place, in the order I set up a show myself: cameras first, then sound, then the switching, then the stream. Each step links to the help page that covers it in full.
What you need
- An Apple Silicon Mac on macOS 15 or later.
- Cameras, connected whichever way suits them: a USB capture device or webcam, an NDI camera or computer on your network, a Blackmagic capture device, or a phone or encoder sending a stream over the network.
- A microphone, or an audio interface, that your Mac sees.
- Somewhere to stream to: the server address and stream key (or SRT address) that YouTube, Facebook, Twitch or your own server gives you.
1. Bring in each camera
Press Add Input… and choose the kind that matches how the camera reaches your Mac:
| The camera reaches your Mac as | Choose |
|---|---|
| A USB webcam, or a capture device such as a Cam Link | Camera |
| An NDI source on your network | NDI |
| A Blackmagic capture device | Blackmagic |
| An RTMP or SRT stream from a phone, an encoder or streaming software, or an RTSP or SRT camera | Network Stream |
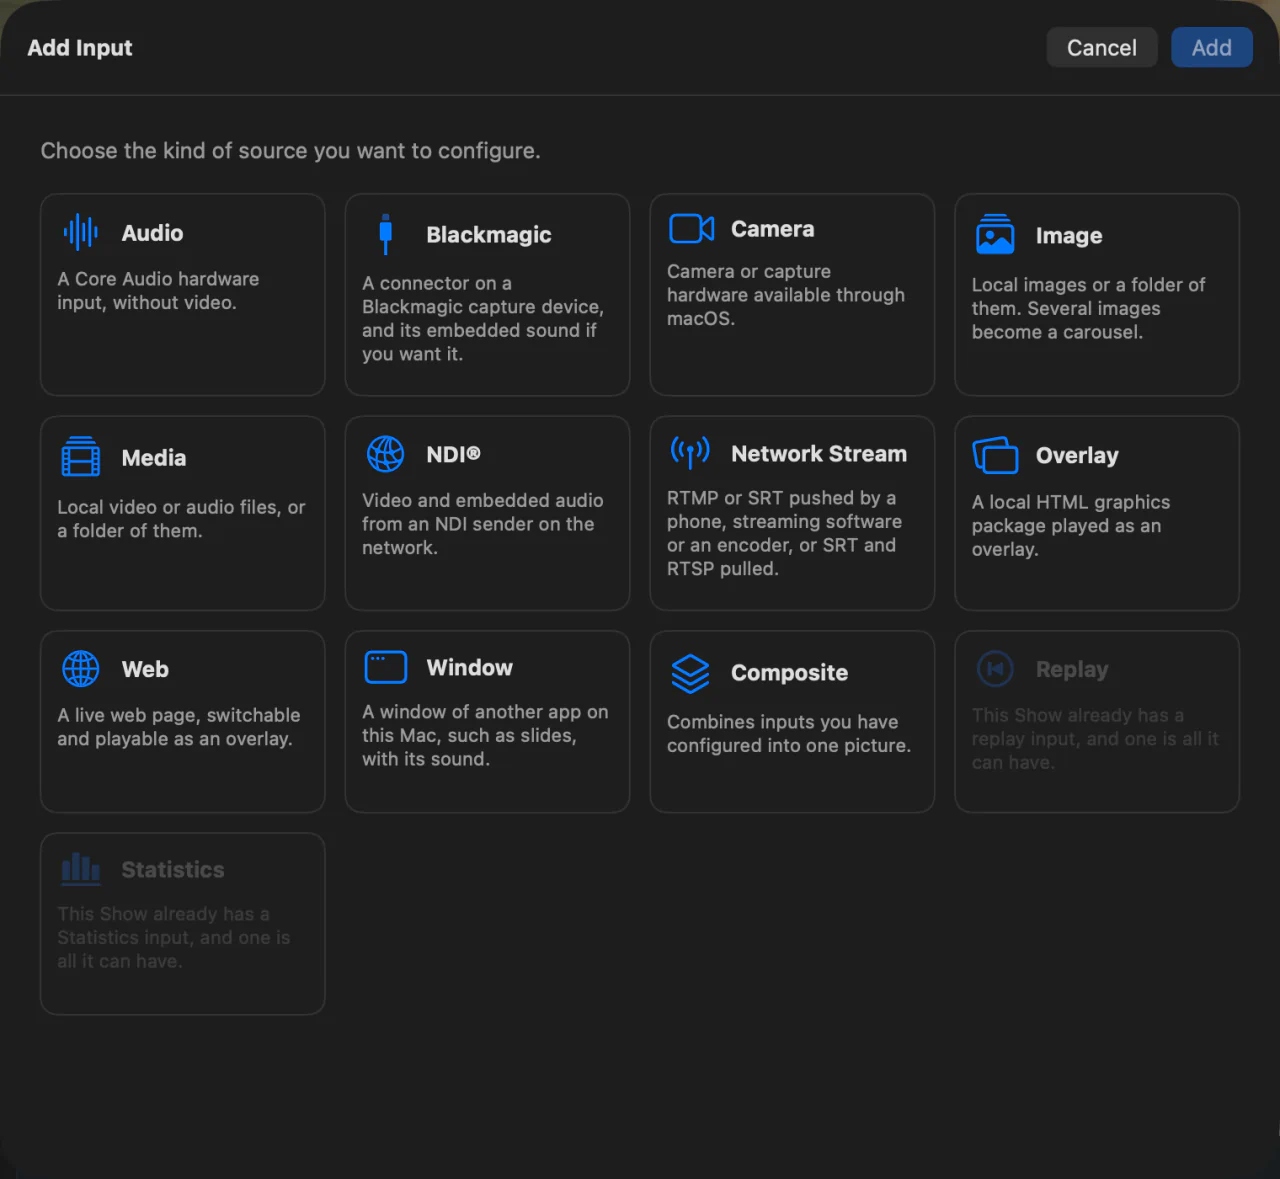
Each one becomes a card with its live picture. Mix them freely: a show with two USB cameras, an NDI camera and a phone works the same way as one with four identical cameras. If a picture’s shape or size is not the show’s, it is fitted to the canvas, and each input can be framed, cropped and colour-matched on its own.
2. Give the show its sound
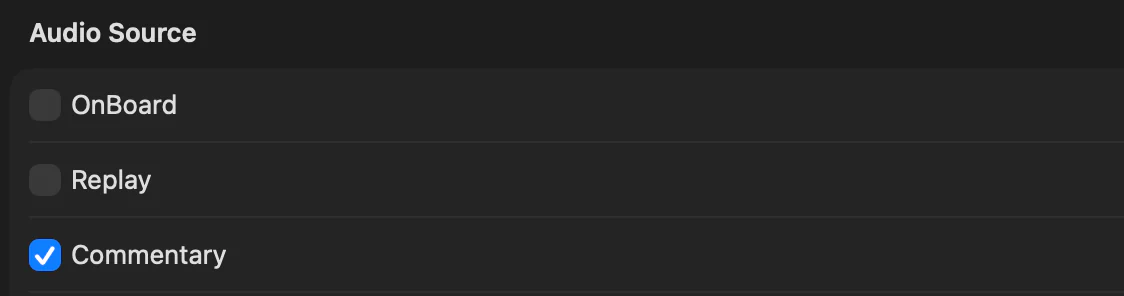
A camera over USB brings in picture only: your Mac sees its sound as a separate device. So add your microphone as an Audio input, then on each camera’s Audio tab, under Audio Source, tick that microphone if you want it to come up with the camera. Tick several if a camera needs them all, a panel’s two microphones say; each keeps its own mixer strip. An NDI or network camera brings its own sound, ticked as Its own sound, beside a microphone or instead of it. Music or a mix from a DAW comes in through our InterStream plug-in: see Sound from a DAW.
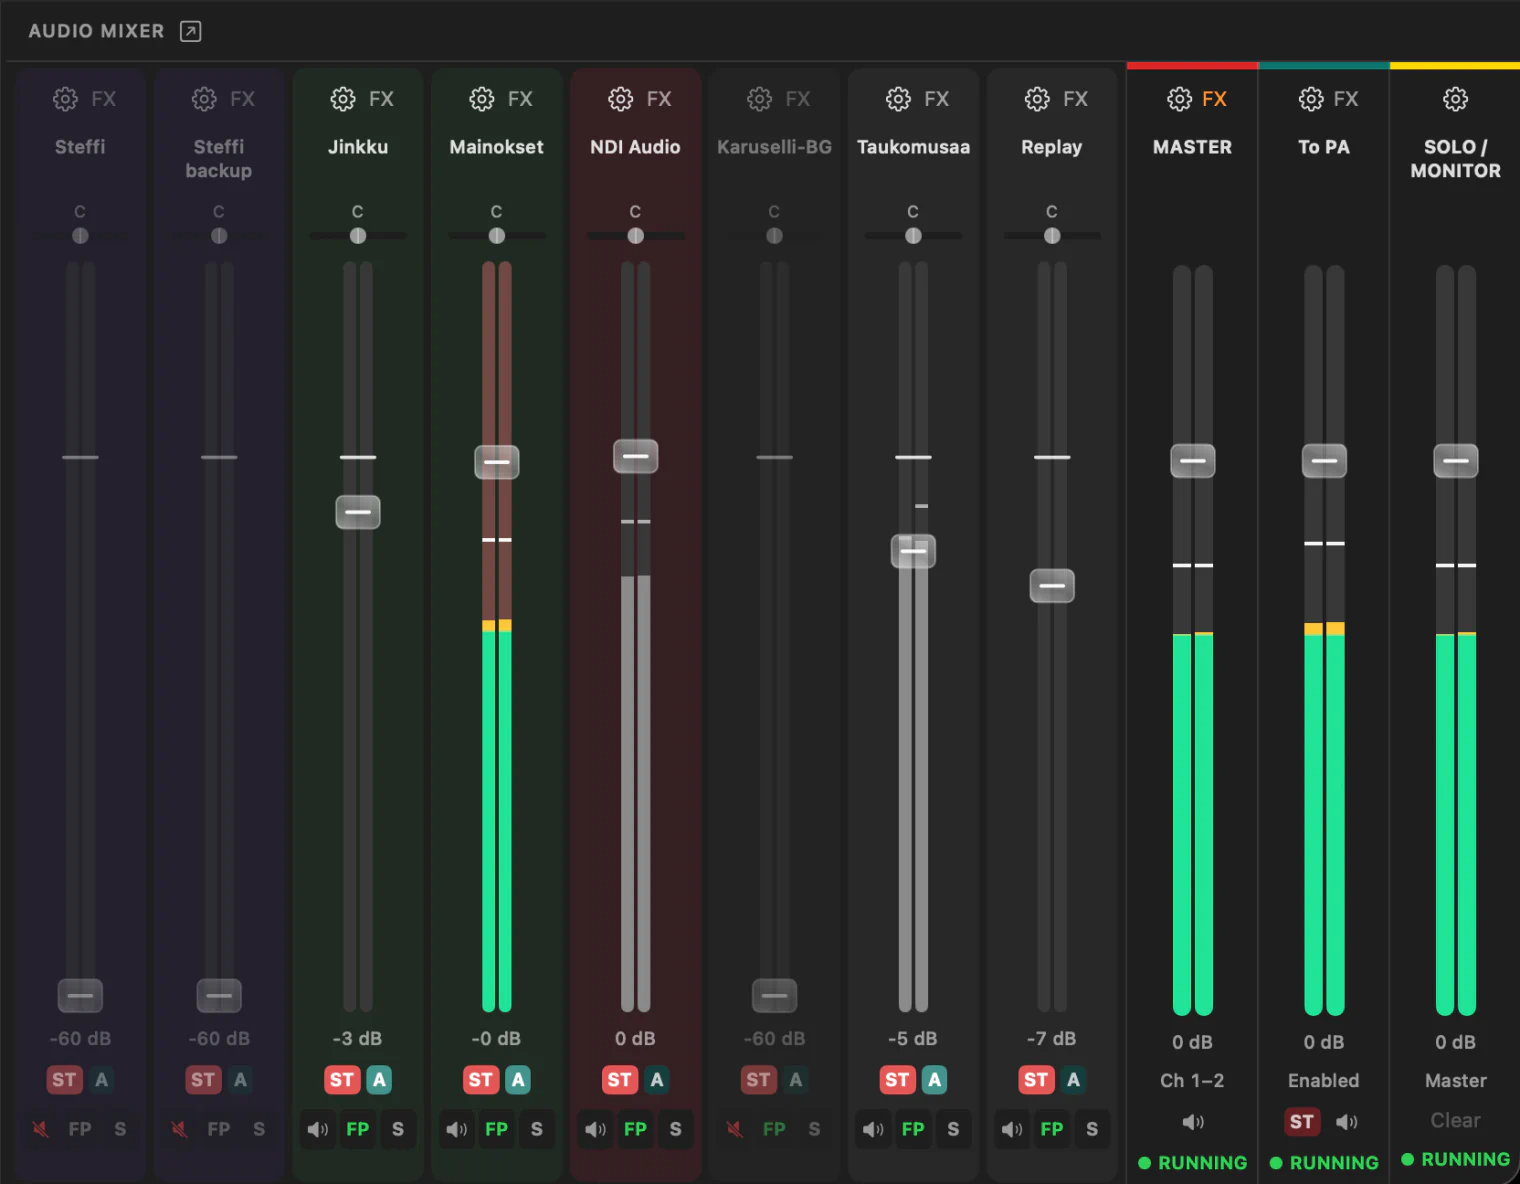
In the audio mixer, every source goes to Master by default, and Master is what your stream and recording carry. With Follow Program on, which it is for a new source, a source’s sound comes up when its picture goes to Program and down when it leaves.
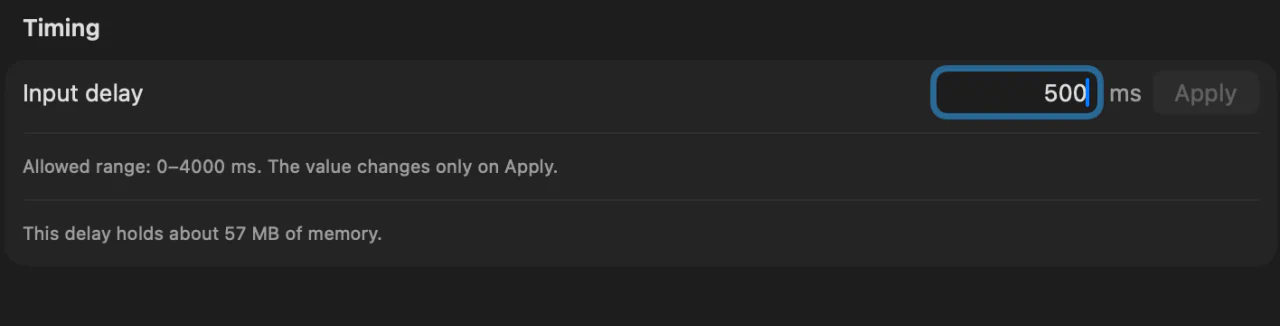
If a camera’s picture arrives later than its sound (or the other way round), hold the faster one back: on the input’s Source tab, under Timing, set Input delay in milliseconds and press Apply. Up to four seconds, picture and sound together; below it, the setting says how much of your Mac’s memory the delay holds.
You do not have to guess the numbers. Tools ▸ Sync Cameras and Audio… measures how far each camera is from the sound, with a phone flashing and beeping on stage, and sets every delay at once. See Line up your cameras with the sound.
3. Switch
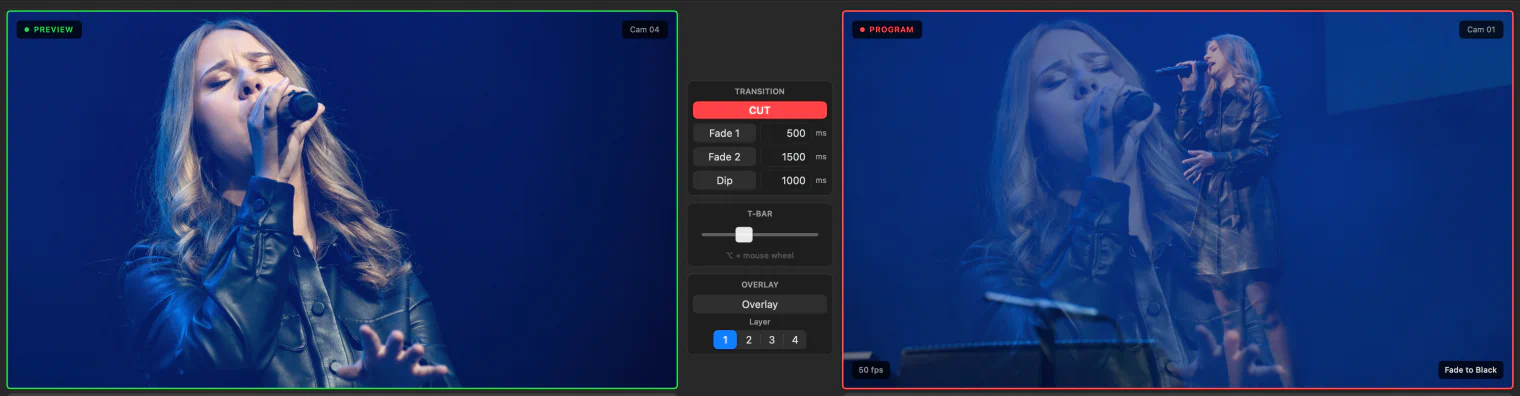
Click a card to put it in Preview, the monitor on the left. Nothing goes on air until you take it: press CUT for a straight cut, Fade 1 or Fade 2 for a cross-fade (each has its own length), or Dip to pass through black. The T-bar between the monitors does the same by hand: let go at Program to take it, at Preview to cancel.
That is the whole rhythm of a show: load the next shot into Preview while the current one is on Program, then take it.
Or skip Preview. A keyboard shortcut, a Stream Deck key or a Bitfocus Companion button can take a camera straight to Program: in Show Settings, Controls, give each camera a key with Cut to Program or Fade to Program. One key per camera is the quickest way to follow a conversation. Your own software can switch too, through the control API.
On a second display, a multiview shows Program, Preview and every camera at once, with a red border on the one that is live, laid out however you like. See Build your own multiview.
4. Go live
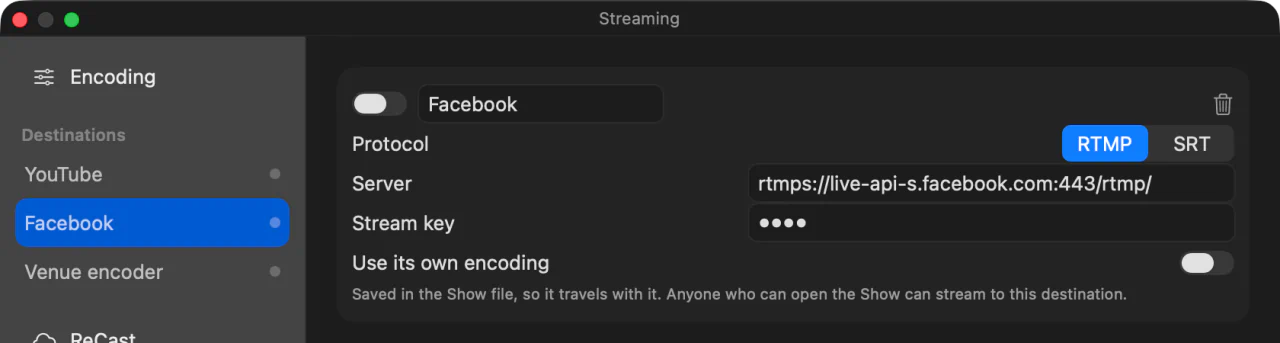
Press the gear beside Stream, then Add Destination, and paste the server address and the stream key your platform gives you, or an SRT address. Then press Stream. It reads Streaming while you are live.
If the connection struggles, InterDirector lowers the bitrate to keep the stream going and raises it again when it can, and the button turns amber so you know without opening anything. Stopping a live stream always asks first. Several destinations stream at once from the same encode, so going live on YouTube and Facebook together is one press.
5. Record it as well
Press Record to save Program to a file on your Mac at the same time, in HEVC, H.264 or ProRes. The stream and the recording are independent: if the internet drops, the recording carries on.
File → Save keeps the whole setup, cameras, sound and destinations, as a Show you open again next time.